Creating a Table
The login area for Cascade is https://tamiu.cascadecms.com/.
When to Use a Table
A table is a structured set of data made up of rows and columns. Tables allow users to easily look up and digest large amounts of data. Got a directory or list of event dates? Tables are a viable solution for efficiently displaying that information to users.
Table Creation
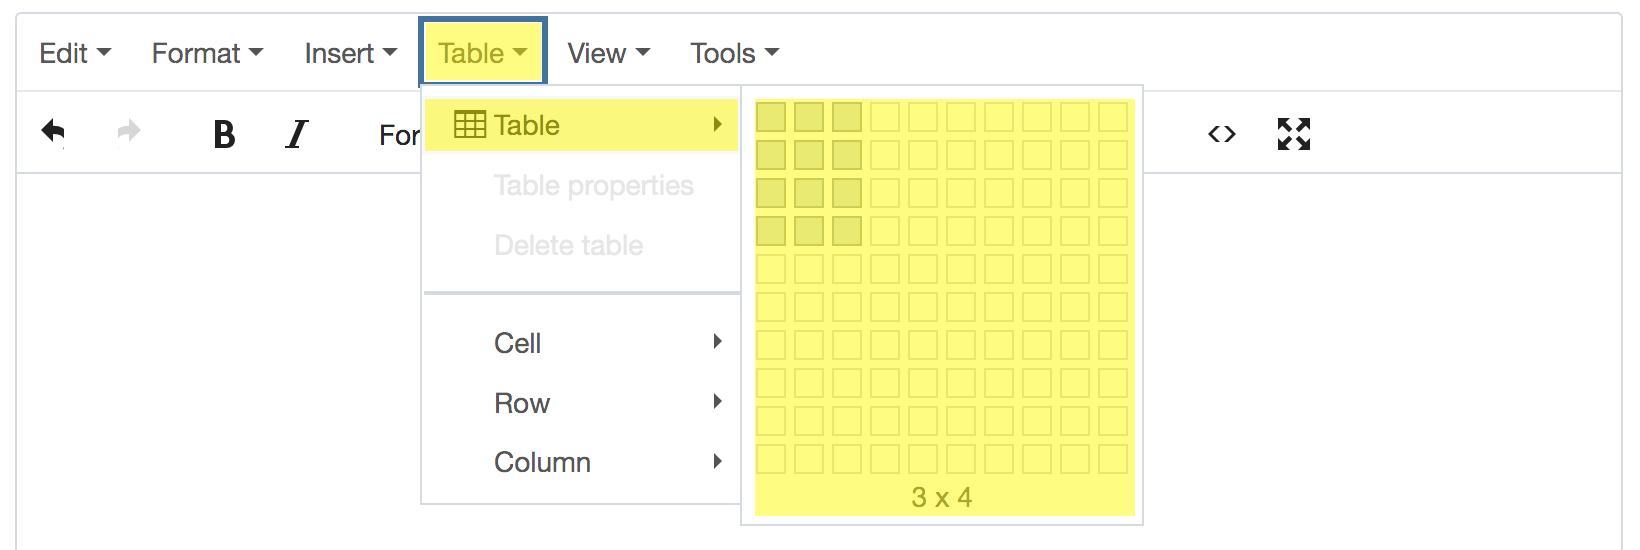
To create a table within Cascade, click on Table --> Table --> specify desired row and column count by moving the mouse across the grid. In the following example, a table with four rows and three columns is created:
INSERTING AN EXISTING TABLE
If an existing table needs to be added into the web page, simply highlight the desired table, copy it, and then paste it into the page. Although the pasted table's initial formatting may affect its appearance, it should look something like this:

If the pasted table's formatting is unsatisfactory, clear its properties before beginning modification. To do so, click within any cell of the table, and this menu will appear:

Click on the leftmost button and a "Table Properties" window will appear. Clear all information from the fields. Be sure to clear all fields in the "Advanced" tab as well. Once cleared, hit "OK".
MODIFYING A TABLE
For most actions regarding table modification, the menu displayed below will be quite helpful. With it, content managers can access a table's properties, insert/delete rows and columns, or delete the table entirely.

Formatting Your Table
TEXT ALIGNMENT
Text alignment can be added to any cell within a table. If a cell's text is not aligned to your liking, click into the desired cell, right-click, click on Cell, and choose the "Cell properties" option. To edit multiple cells, highlight the cells instead of clicking on only one cell.
In the Cell Properties window, content managers may adjust the HAlign and VAlign settings to modify the horizontal and vertical alignments, respectively.
TABLE FORMATTING
Changing the format of a table will change its appearance. There are currently five different formats content managers may choose from.
To begin making adjustments to a table's format, first click into any cell within the table. Next, from the Editor menu, click Formats, then Custom, and choose the format you wish to apply. Most formatting needs will be met with the Table - Bordered option.